The TID was a standardized modular British tugboat design built during the Second World War. Capacity was limited at shipyards but there was spare capacity at other manufacturers. As a result, the
65 foot hulls were built as eight separate modules by a group of these manufacturers and the 6-ton sections were transported by rail or road to shipyards for finally assembly and fitting out.  This modular
style of construction resulted in one hull being completed every five days on average. This was also a technical innovation for the British as this was an all-welded vessel. British yards traditionally used
riveting for boat construction.

A total of 182
TIDs were built for the Ministry of War Transport to satisfy the urgent demand for small tugs to do harbor and dock work and later to support invasion fleets and craft.  TIDs were
utilized in the Normandy invasions towing the floating roadways which linked the Mulberry Harbor to the beaches and servicing ships anchored in deep water. The
TID design was so successful that
another 50 were ordered over the initial 132 for use in the Mediterranean and the Far East. These tugs were modified to use oil burning engines rather than coal as coal was either scarce or of poor
quality in these areas of operations. Later construction tugs were switched to oil rather than coal. Five
TIDS were shipped to the Pacific and joined the British Pacific Fleet at Manus in June of 1945. On
a lot of
TIDs, the open steering position of the initial design was enclosed to make a proper pilot house to protect against the elements.  
After the war, a number of
TIDS remained in service with either the Royal Navy or transferred to various harbor authorities. A large number were sold to private firms in France, Belgium Holland,
Finland, Norway and Sweden and Uruguay. A small preservation group based in Mistley on the river Stour, Essex maintains
TID 172 and another preservation group maintains TID 164, which is
berthed at the Chatham Historic Dockyard in Kent. Both tugs are still operational.  

Specifications
Displacement:        124 long tons
Dimensions:        65’ x  17’ x 7’ 4” (length /beam/draft)
Machinery:        220 ihp reciprocating steam engine, single screw, 2 ton Bollard Pull
Speed:        8 knots
Fuel:        Originally designed for coal later construction changed to oil.
Complement:        5-6
The Kit
The TID is the first kit from the German based SSN-Modellbau. In 1:350 scale this is a diminutive model with the hull measuring just shy of 2 ¼ inches. The kit is an overall simple affair comprising of 5
resin parts and some photo-etch. Naturally the largest resin part is the one piece waterline hull with all of the desk housing and fittings integrated. The smaller parts include the funnel, mast, vent pipe and
davit. The casting is generally good with only a few pinholes to deal with. There is an adequate amount of detail but based on reference photos it lacks watertight doors and hatches on the sides of the
deck housing. The rope bumpers at the bow and stern are done well and are a nice touch.

The photo-etch provides a length of railing, the tug’s wheel, life rings and what appears to be some kind of window that gets attached to the housing at the back end.  The photo-etch is basic with the life
rings having a little bit of relief etching to help with the painting. None of the images I have seen of
TID tugs in their original fit have railings along the back edge of the housing so there is really no need for
it. A length of wire is provided to make the tow rope bars.A small decal sheet printed by Peddinghaus Decals is included and provides hull numbers and a White Ensign.  The prefix
TID 1 is done as one
run and then you have individual digits running from 0 through 9. The
TID tugs were numbers TID 1 to TID 183 so having TID 1 together facilitates applying the decals as all you need to add are one
or two digits at most or trimming off the 1 and replacing with 2 through 9 or the lower numbered tugs.

The instructions are provided on a single double-sided sheet of paper. The front page has the assembly steps and painting guide in German with two photos of an assembled model from two perspectives
to show how it all goes together.  A diagram is provided with measurements to fashion the four tow rope bars using the wire provided with the kit. The photos provided do the job as this is not a
complicated build. The reserve side has an English translation of the assembly steps and painting guide.

The Build
The Medway Maritime Trust website has a section dedicated to the history of TID tugs and is well worth visiting (http://www.medwaymaritimetrust.org.uk/tidtugs/index.html). While browsing there I
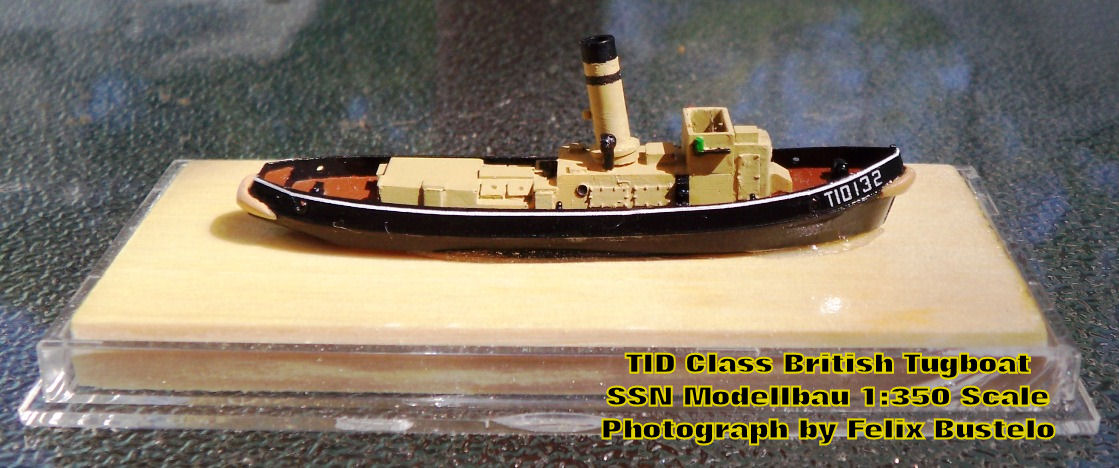
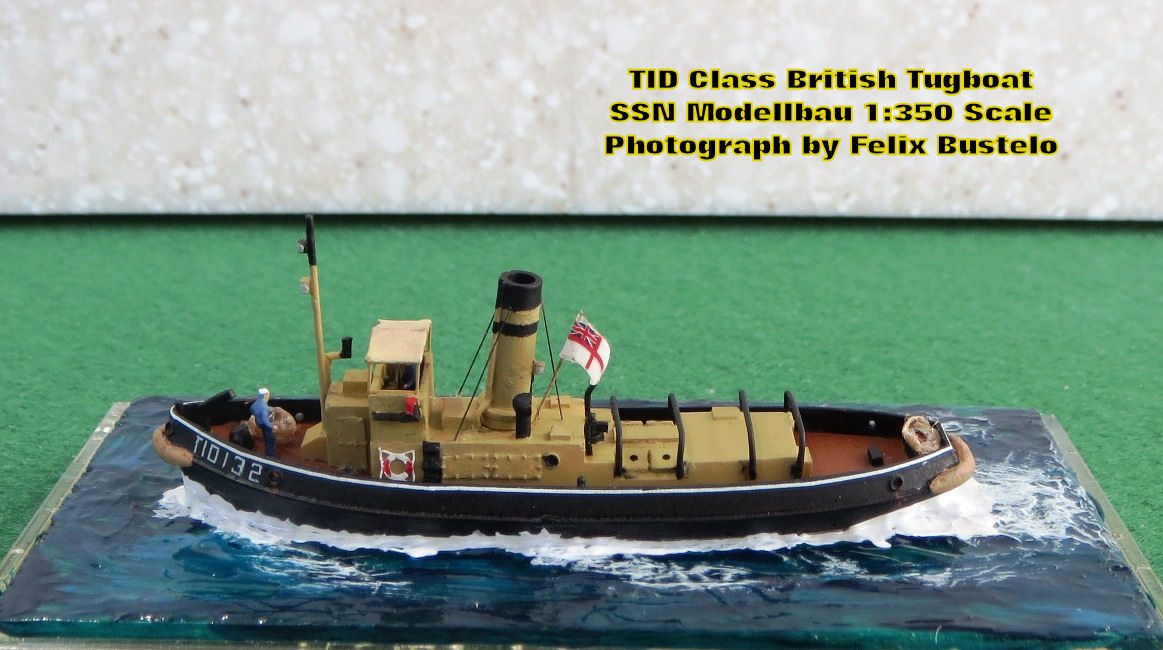
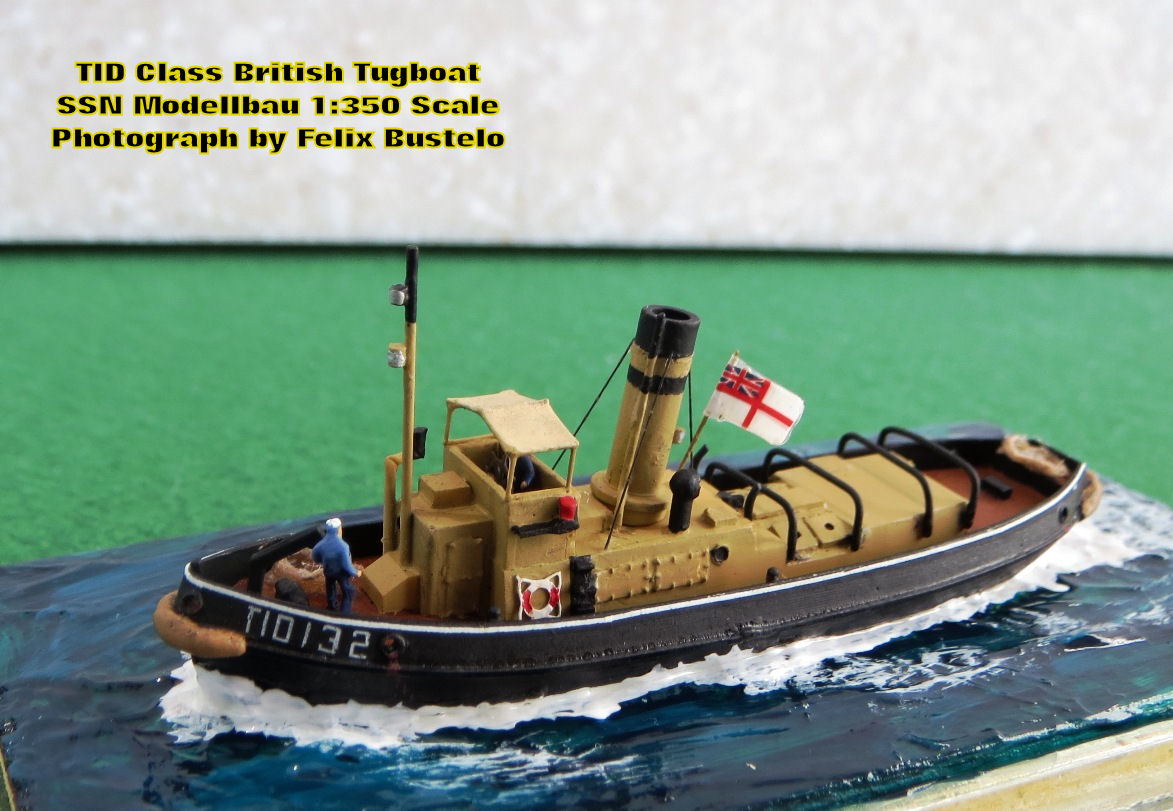
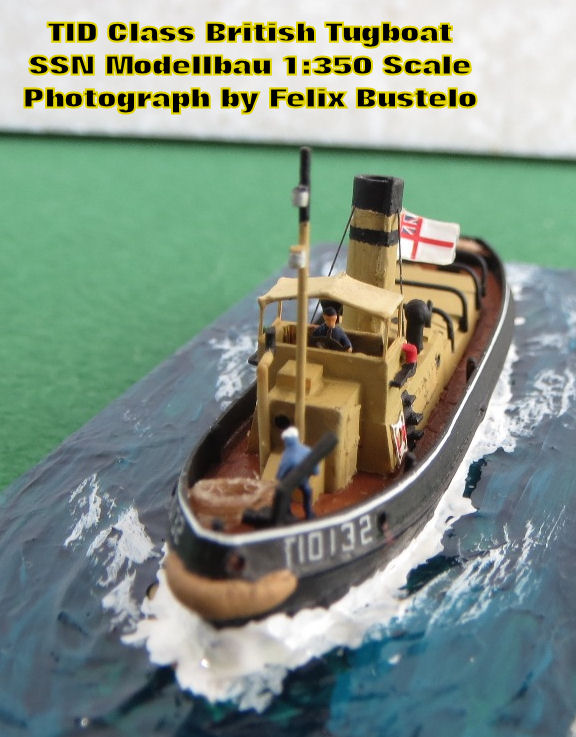
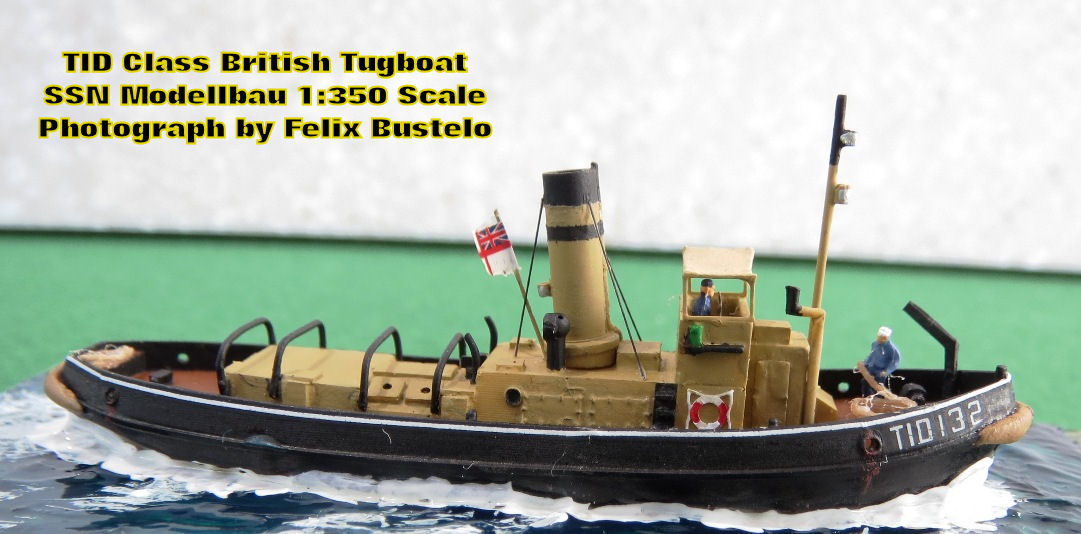
came across a photo of
TID 132, which had a black band on her funnel in addition to the black top.  A web search also yielded good detail photos of the preserved TID 164. So with these references I
decided to build my model as
TID 132. A little history about TID 132: she was launched January 3, 1945 and completed in March of that year. On May 22, she was shipped to Bombay along with four
others
TIDs as deck cargo on the Empire Byng. She arrived on June 19, 1945 and used as an Admiralty tug there. After the war, she was transferred to the Singapore Harbor Board and renamed
Tentu. In 1964 she was sold to Malaysian buyers but there is no further information.

The first thing to do is to remove the casting block using a razor saw and then doing a little bit of sanding along the hull bottom to make it flush.  The hull itself is very clean and required filling in a few
pinholes here and there. Around the running lights there is resin buildup that needs to be removed and cleaned up. I also drilled out openings in the bulwarks which are marked by circular outlines.
Vertical ladders are cast into the side of the deck housing (it is hard to see it but they are there) but looking at the photos of
TID 164, the ladders are more like individual steps so I sanded off the cast in
ladders to replace them later with bits of styrene strip. Photos also show watertight doors fitted forward and 2 pairs of access hatches on each side of the deck house below the funnel.  I applied photo-
etch doors and hatches from the
L’Arsenal set which provides a variety of styles and I also glued that square window on the kit’s photo-etch where the assembly guide places it. Lastly I drilled out
“windows” in the four engine room skylights aft of the funnel.

Now that the hull was prepped, it was time to give it a wash with soap and water and get ready to paint. Having main structures and deck fittings already cast into the hull has its pros and cons. The pro is
that it facilitates construction but the con is that it can complicate painting especially in the narrow gap between the bulwarks and the sides of the deck housing. I masked the housing and brush painted
Testors Model Master Leather for the deck color as suggested by the painting guide. Once that was dry after a couple of days I masked the deck and painted the deck housing and funnel Floquil Depot
Buff which was the closest match I had handy to the photos of
TID 164. I then painted the hull, inner bulwarks, cowl vents, tow hook base and funnel bands Floquil Engine Black and the rope bumpers
with a tan color for which I forget the specifics. Once this was nice and dry I applied a coat of Tamiya Gloss to the hull for the decals.
Photos of TID 164 and 132 show a thin white stripe along the upper edge of the hull. I applied the thinnest MircoScale white stripe decal I had to recreate this on my model.  I then applied the kit’
s hull number decals which are a wee bit too large but good enough. The decals are printed on one transfer film so you will need to trim the excess around each individual section. The areas where
the vertical ladders go just aft of the pilot house have a black background so I used black stripe decal for this. Then I glued on thin styrene strip for each ladder step over the decal and painted them
black. Next I painted the running lights and glued the ship’s wheel and the funnel to their locations. I made a vent pipe from brass wire bent into shape and glued it to the funnel. Once the main
assembly was done, I glued the hull to base which is a piece of basswood glued to the base of a pre-made display case that I picked up a Michael’s.  The display case is designed to hold a die-cast
Matchbox car but it is perfect for this little tug model. To block the sun and protect the helmsman from the elements, a canopy was fitted over the open steering position.  I fashioned the frame work
using a combination of photo-etch supports from the spares box and thin brass wire. Before finishing off the canopy I glued a Goffy crew figure into position at the helm. I used MicroScale Krystal
Klear to make the canopy which I then painted once it dried.

The final bits to go on where the tow rope bars, mast, vent pipe and davit. I made the tow rope bars from mine own supply brass wire which was sturdier than the wire provided with the kit. I
scratch built a mast with brass rod and styrene rod for the lights using the kit’s resin version as a template. I didn’t think the resin mast was sturdy enough and would warp eventually.  The finishing
touches applied were the funnel stays, another Goffy figure at the foc’sle, some sewing thread rope coils fore and aft and photo-etch life rings.  I purchased the Goffy figures inexpensively but they
are subpar when compared to the
L’Arsenal figures. Some weathering, touches of rust and the white ensign complete the model. The seascape is acrylic gel painted with acrylic artist/craft paints
sealed with a coat of Future gloss.

Overall this is a fun little kit that with some added detail parts will build into a fine model of a working tug. You can build it as a
TID tug in Admiralty service or as a post-war tug in civilian livery.
TID tugs were modified over time while in private service, with shorter and wider funnels and modernized pilothouses, so there are plenty of conversion opportunities. This model would make a
good addition to a harbor or pier side diorama and could be incorporated into a Mulberry Harbor scene.  This kit is a promising debut from SSN Modellbau (http://www.ssn-modellbau.de/) and I
look forward to seeing what is next from this German cottage firm. You can purchase this kit from BMK’s Modellmarine.De site or
Free Time Hobbies.  My thanks to BMK for providing this
review sample.